Your Cart is Empty


Makeup is transformative.
A well-applied face of makeup makes us feel powerful. It boosts our confidence. Some of us even use it as an outlet for self-expression.
Flawless makeup application prepares us for whatever the world has in store for us that day. If our coverage is spot on, we know we can face anything!

And, in the same way that we cook a good meal, there are techniques for makeup application.
So, if you’ve ever wondered how to apply foundation like a professional or you’re not sure which order to apply your concealer (before or after the foundation), then you’ve come to the right place.
From primer to powder, we’ll reveal the secrets on how to apply makeup flawlessly with our step-by-step tutorials.
Scroll down or click on a link below for specific application tips for each type of makeup product.
Don’t worry, you don’t need to spend too much time preparing for a flawless makeup look but for best results we really recommend you do the following:
A good foundation can look amazing but it will look even more flawless on healthy skin.

A simple, yet consistent skin care routine ensures the removal of dry, flaky skin, as well as any old makeup or dirt lurking in our pores. This not only helps to prevent breakouts, but it also provides us with a smooth canvas for better makeup coverage.
An artist is only as good as their brushes and tools - you wouldn’t catch Monet painting with his fingers!
While applying makeup with our fingertips can improve precision, they’re not covered in dense bristles so the coverage is never going to be as good as a brush.
What’s more, you’re asking for breakouts!
Consequently, if you want to apply makeup flawlessly, we recommend using the right beauty tools.
What’s the best makeup brush for the job?
Don’t worry, we got you!
If you’ve ever wondered about the order or want to know how to blend foundation correctly, check out our step-by-step makeup tutorials below to show you how to apply your makeup without streaks.
Which one is best for flawless makeup application?
Well, it can depend on the type of makeup product you are using but the general rules are as follows:
Have you ever had to decorate your house?
If you have, then you’ll probably know the importance of creating an undercoat on the walls before applying any paint. Primer is essentially the same thing!

It ensures better adhesion of makeup to the surface of your face and helps keep the coverage even. How? It fills in all of the tiny crevices and creates a smooth texture over your skin.
Ok, so how do you apply primer?
Remember the importance of a good skin care routine!
Add a pea-sized blob of primer to your favorite makeup brush or sponge.
Start with the T-zone and blend the primer into your skin using circular motions.
Blend outwards until you have covered your forehead, cheeks, and chin.
Getting your foundation application right is the difference between having smooth glowing skin and looking like a streaky orange.
Here’s our step-by-step guide to applying foundation like a pro:
Check out @sosodoesmakeup to see how she perfectly applies her foundation in under 30 seconds:
Depending on how much you want to cover, choose between lightweight (e.g. sheer, hydrating), medium (e.g. satin-finish, semi-matte), and full-coverage (e.g. matte) foundation.
Find yourself a shade of foundation that matches your skin color. To make sure it suits you, we recommend applying it to your face and looking at yourself in a mirror under natural light.
Add a few drops of foundation to the main areas of your face (forehead, nose, cheeks, chin).

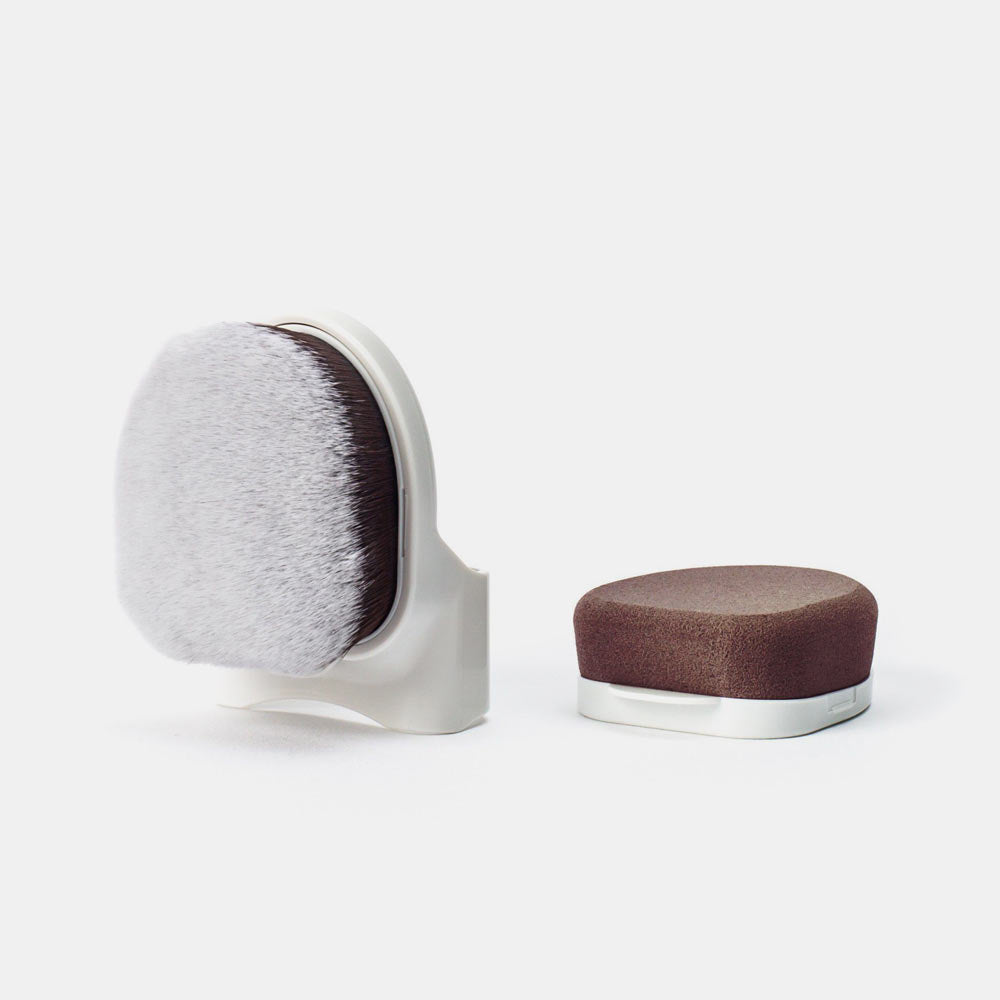
Use a makeup brush with dense bristles (like Yubi’s Miracle Buff Brush) and blend the foundation out towards the hairline and jawline.
Switch to a makeup sponge (such as Yubi’s Blend Sponge) to grab any excess product that might result in creases, patches and clumps.
How to absolutely melt foundation into your skin
Pimples and blemishes are common skin features and a normal part of everyday life but concealer can act as a magic wand for when we want that flawless look.
Although some swear by using concealer first, many experts agree that using foundation afterward can wipe away the coverage.
Therefore, we recommend using concealer AFTER foundation.
Want to know how to apply concealer like a professional?
Check out Master Hair Stylist & Certified Pro Makeup Artist, J’hanna’s concealer tutorial for her top tips on how to apply it for flawless coverage:
For dark circles, sun spots, and age spots, peach concealer is best.
Hide red patches and hyperpigmentation with green or yellow shades.
Or choose a color that’s close to your skin tone for easier to hide blemishes.
A stick or pencil concealer is perfect for precision and provides heavier coverage for those pesky pimples.
Liquid concealer is better for larger areas and is used for light coverage, such as for circles under the eyes or wrinkles around the mouth.
For light coverage, apply a small amount of liquid concealer to any problem areas and gently blend in using a damp sponge or makeup brush.
For heavier coverage, apply stick concealer directly to problem areas and blend out.
Once your concealer has dried, it’s time to set your face using makeup powder.
We have to be careful here in case we end up applying too much and giving ourselves the dreaded caked makeup face.

We’ll demonstrate how to apply makeup powder for a gorgeous natural finish:
Unlike other brushes (or your hands!) Yubi can go from liquid to powder and from one color to the next, all without cleaning or changing in between.
And it will give you a superior, airbrush-quality finish to boot.
You’ll want a powder that so perfectly matches your skin color that it disappears once applied.
Although these don’t work for everyone, you can also try experimenting with translucent powders as these can be a great way to get rid of oil and shine while blending in with your skin tone.
We recommend either using a large fluffy brush or an all-in-one makeup brush, such as Yubi’s Miracle Buff Brush.

Dip the makeup brush in your powder and tap on the side of the container to get rid of excess.
Starting with the T-zone, gently buff the powder into the skin using circular movements before moving to the forehead and cheeks.
Use a clean brush to gently sweep any excess powder off the skin.
It’s time to give your skin that sunkissed glow by applying your bronzer. But how do you avoid making your face look orange or dirty?

Follow our step-by-step guide to bronzer application and you’ll look like you’ve just stepped off a beach in Hawaii, each and every time you apply your makeup!
The trick with bronzer is to make it look as natural as possible, so you may have to change the shade depending on what time of the year it is.
Bronzers also come in different undertones, so try to pick a bronzer that matches the undertone of your skin.
For example, copper shades are great for olive skin tones, peach/pink bronzers are more suitable for those with fair skin that’s easily sunburnt, and some dark skin tones suit more golden/caramel hues.
It’s important not to apply bronzer after loose powder to prevent it from sticking to your foundation. Applying it last also gives you that gorgeous glowing finish.
Dip your brush or sponge into the bronzer and blow/knock-off any excess before applying it first to your cheeks.
You’ll need to apply the bronzer in a ‘3’ shape on each side of your face.

Start from your cheeks and sweep the bronzer in a curved motion up to your temples and then back down along your jawline. Use small circular motions to blend out.
Without re-dipping your makeup brush, sweep it down your nose and across your forehead to give your skin that suntouched glow without making it look dirty.
Some of you may want to use your bronzer to contour your face to create further definition.
To do this, lightly dust bronzer underneath your best parts, such as your jawline and cheekbones and then blend out. This will create shadows to accentuate these areas.
The key here is to go lightly and blend, blend, blend!
Blush is one of those seemingly simple but actually pretty difficult makeup products to apply. It’s relatively easy to get this wrong and end up looking like Jigsaw from the Saw movies...

But not if you follow our simple steps for flawless blush application!
You’ll want to match your blush to the color your cheeks naturally flush to.
For example, if you have darker skin then you will want a deeper and more pigmented color. Pale complexions look better with a cooler pink and those with olive skin might want to choose a more apricot pink.
Gauge where you should apply your blush by smiling and taking notice of the areas that become more pronounced - these are the apples of your cheeks!

Place your finger at one side of your mouth, along the smile line. When you apply blush to the apples of your cheeks, make sure you don’t cross over this line towards your mouth.
Swirl your makeup brush lightly into your blush and then blow/knock-off the excess product.
Always start with less blush than you think you need! You can always build the color up later as required.
Apply the blush to your cheeks in gentle patting motions and then make circular motions to blend out.
Without re-dipping your makeup brush into the blush, finish by making larger outward sweeping motions and gently dust the brush across your nose for a natural hint of color.
So there you have it, you now know how to apply makeup flawlessly.
Comments will be approved before showing up.